
Hi! I’m glad you didn’t skip over the prep post.
Yes, I know it’s boring, and uninspired, there’s no nice pictures (really, there isn’t…iphone remember…but there will be for the big reveal!) and it just plain sucks to prep for paint.
Maybe you’re a Number 1 on the enneagram and you thrive on getting out all your tools and laying them in order before a project (though if you’re a 1, you might not be doing a project because that involves change….yes, dear husband, I am looking at you), but if you are a 7 like me, action is the spice of life, change is your driving force, and planning and *shudder* PAINT PREP, does not make the cut.
But, it is so important. Your cabinets will look beautiful for years to come if you do these steps.
First, take off all the cabinet doors, remove the hardware, and the hinges.

Cabinet Door Prep:
1. Clean!
I started with scrubbing all of the door with hot soapy water to get all the grease and built-up crud off. This is an important step. Your cabinets are old and dirty. Scrub! With soapy water! Rinse well. Your water will get very dirty.
2. Sand!
Once your doors are clean, you have to sand down the sealer or varnish that has been applied over the stain. This is usually a clear (actually, it’s probably yellow) shiny coat. Mine hadn’t been done in ages so you could see where the clear coat was starting to wear and crack. If you are a real newb to painting and staining, this can be the tricky part, cause you don’t really know how much to sand. Some people go too much, some people go too little.
Here’s an easy way. All you are doing is getting rid of the “shine” and scuffing up the face of the door a bit. The paint can’t stick to the clear coat, so that’s why we have to get rid of it. You DO NOT need to sand down to the bare wood.
All I did was use my rotating sander for this. It doesn’t take that much time.
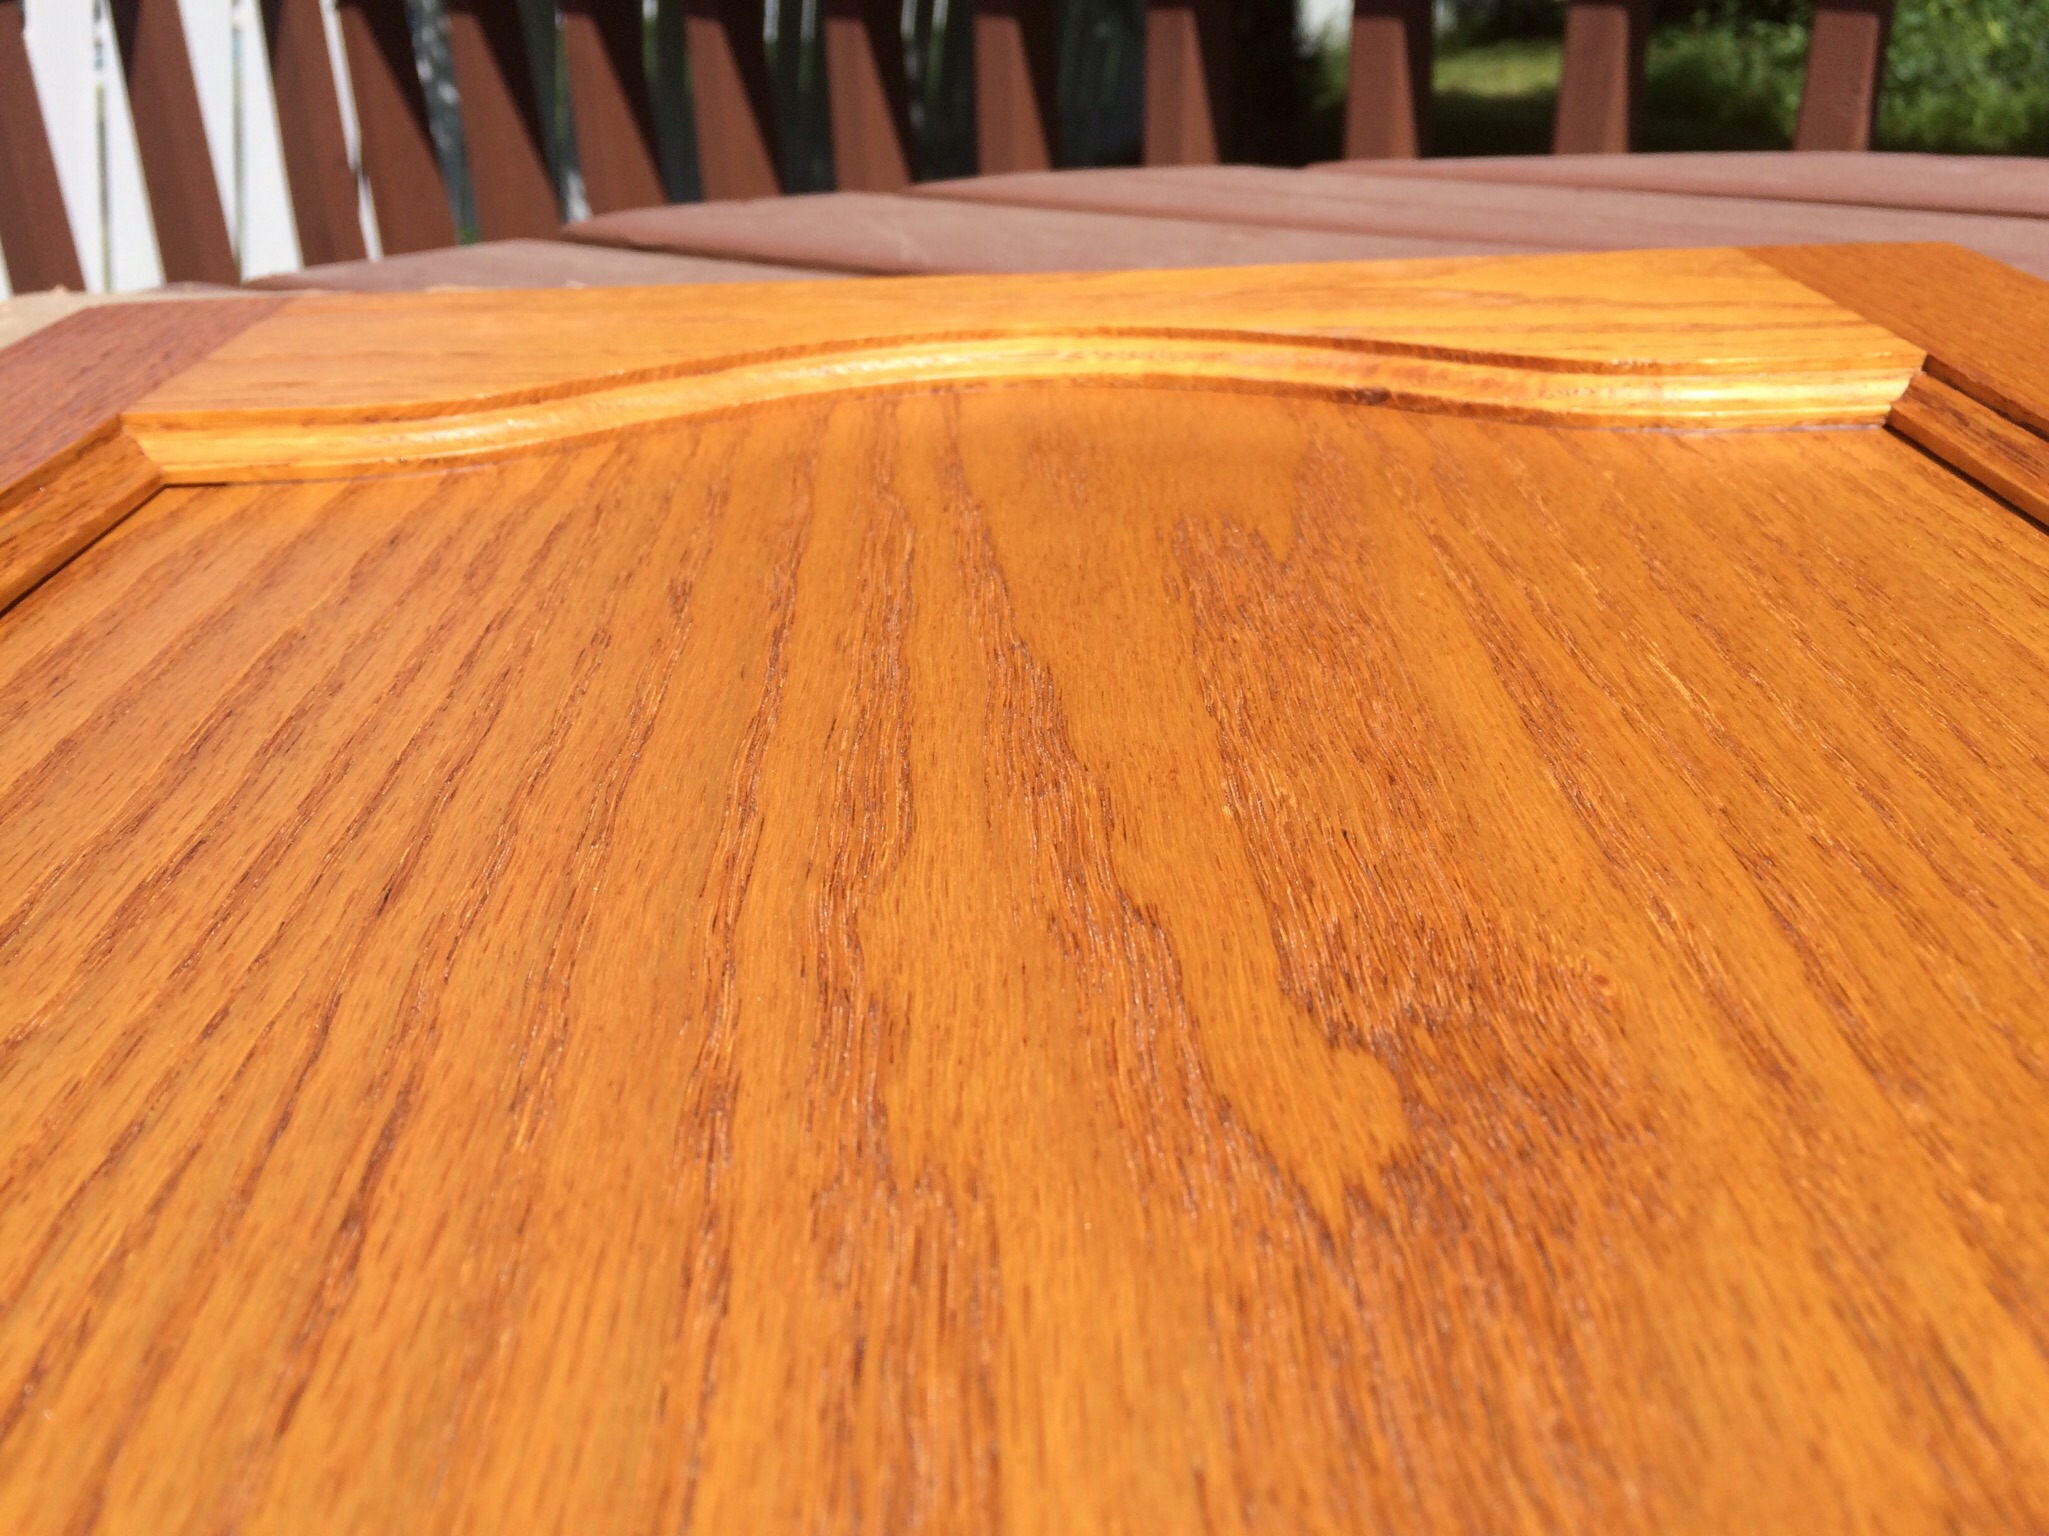
The part that took lots of time was all my beveled edges and the corners. I had to do those by hand and it was the pits. Hopefully you don’t have those. Remember, JUST GET RID OF THE SHINE!
Don’t worry. I took a bunch of pictures so that you can see what it’s supposed to look like.
Here’s a look at the front of a cabinet door. The left side has been sanded and the right side has not.
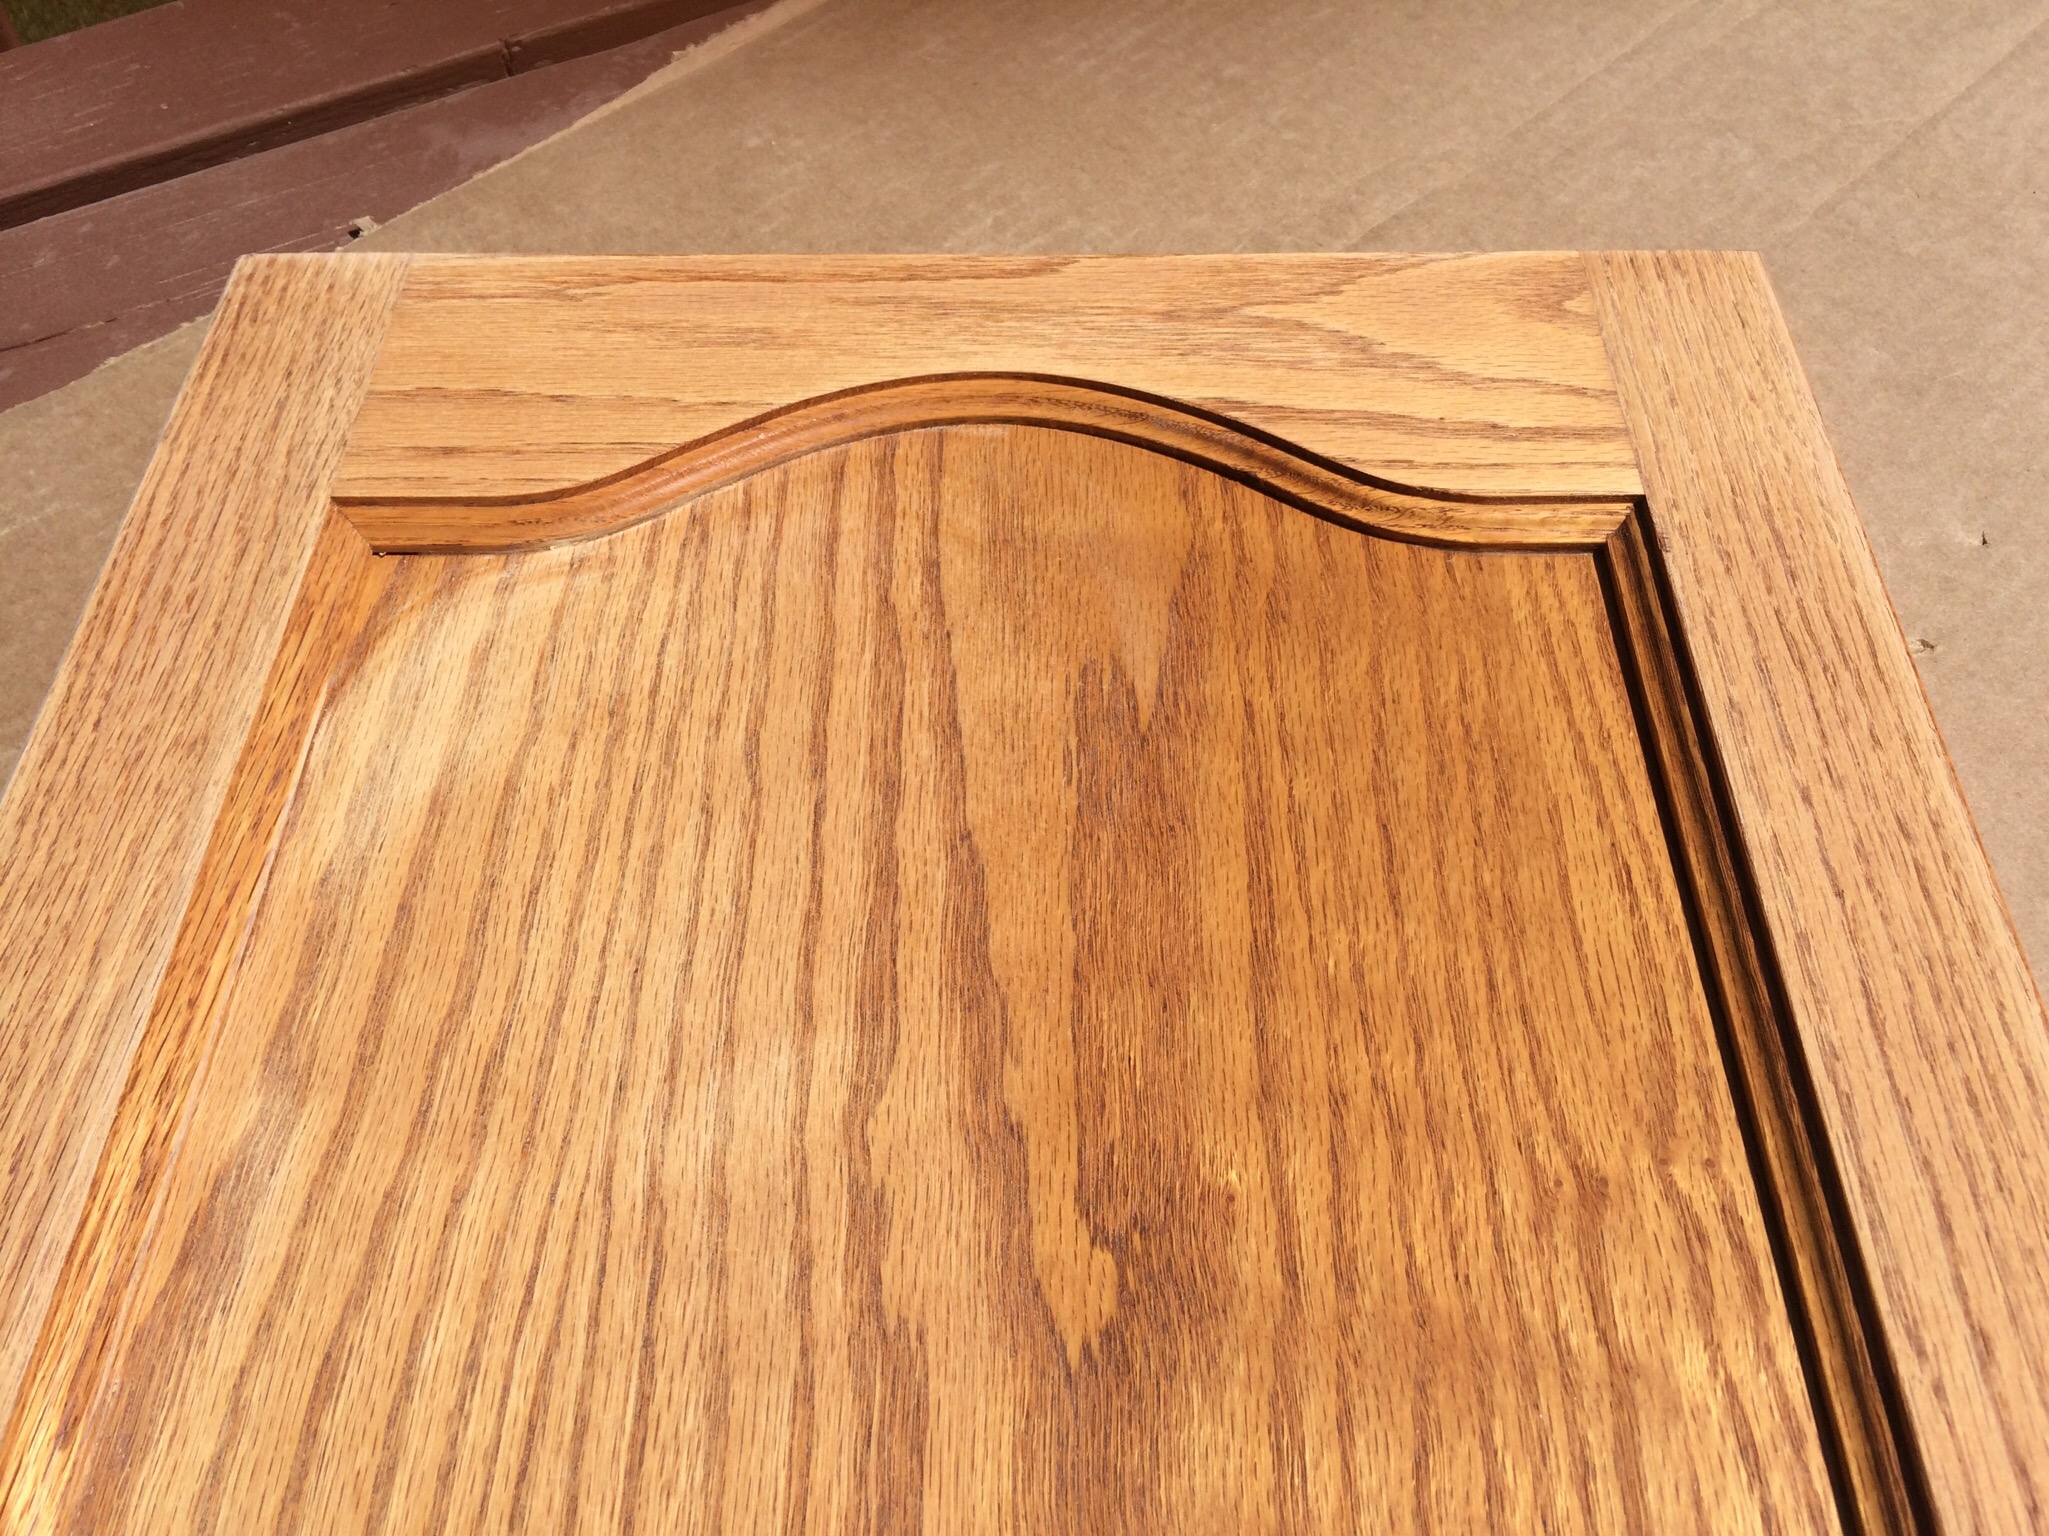
The edge sanded and the side is not.

See the shine on the beveled edge? That’s what you are trying to get rid of (Really hard to get a picture of). Also, can see the white spots in the grain? That’s where my clear coat was coming off.
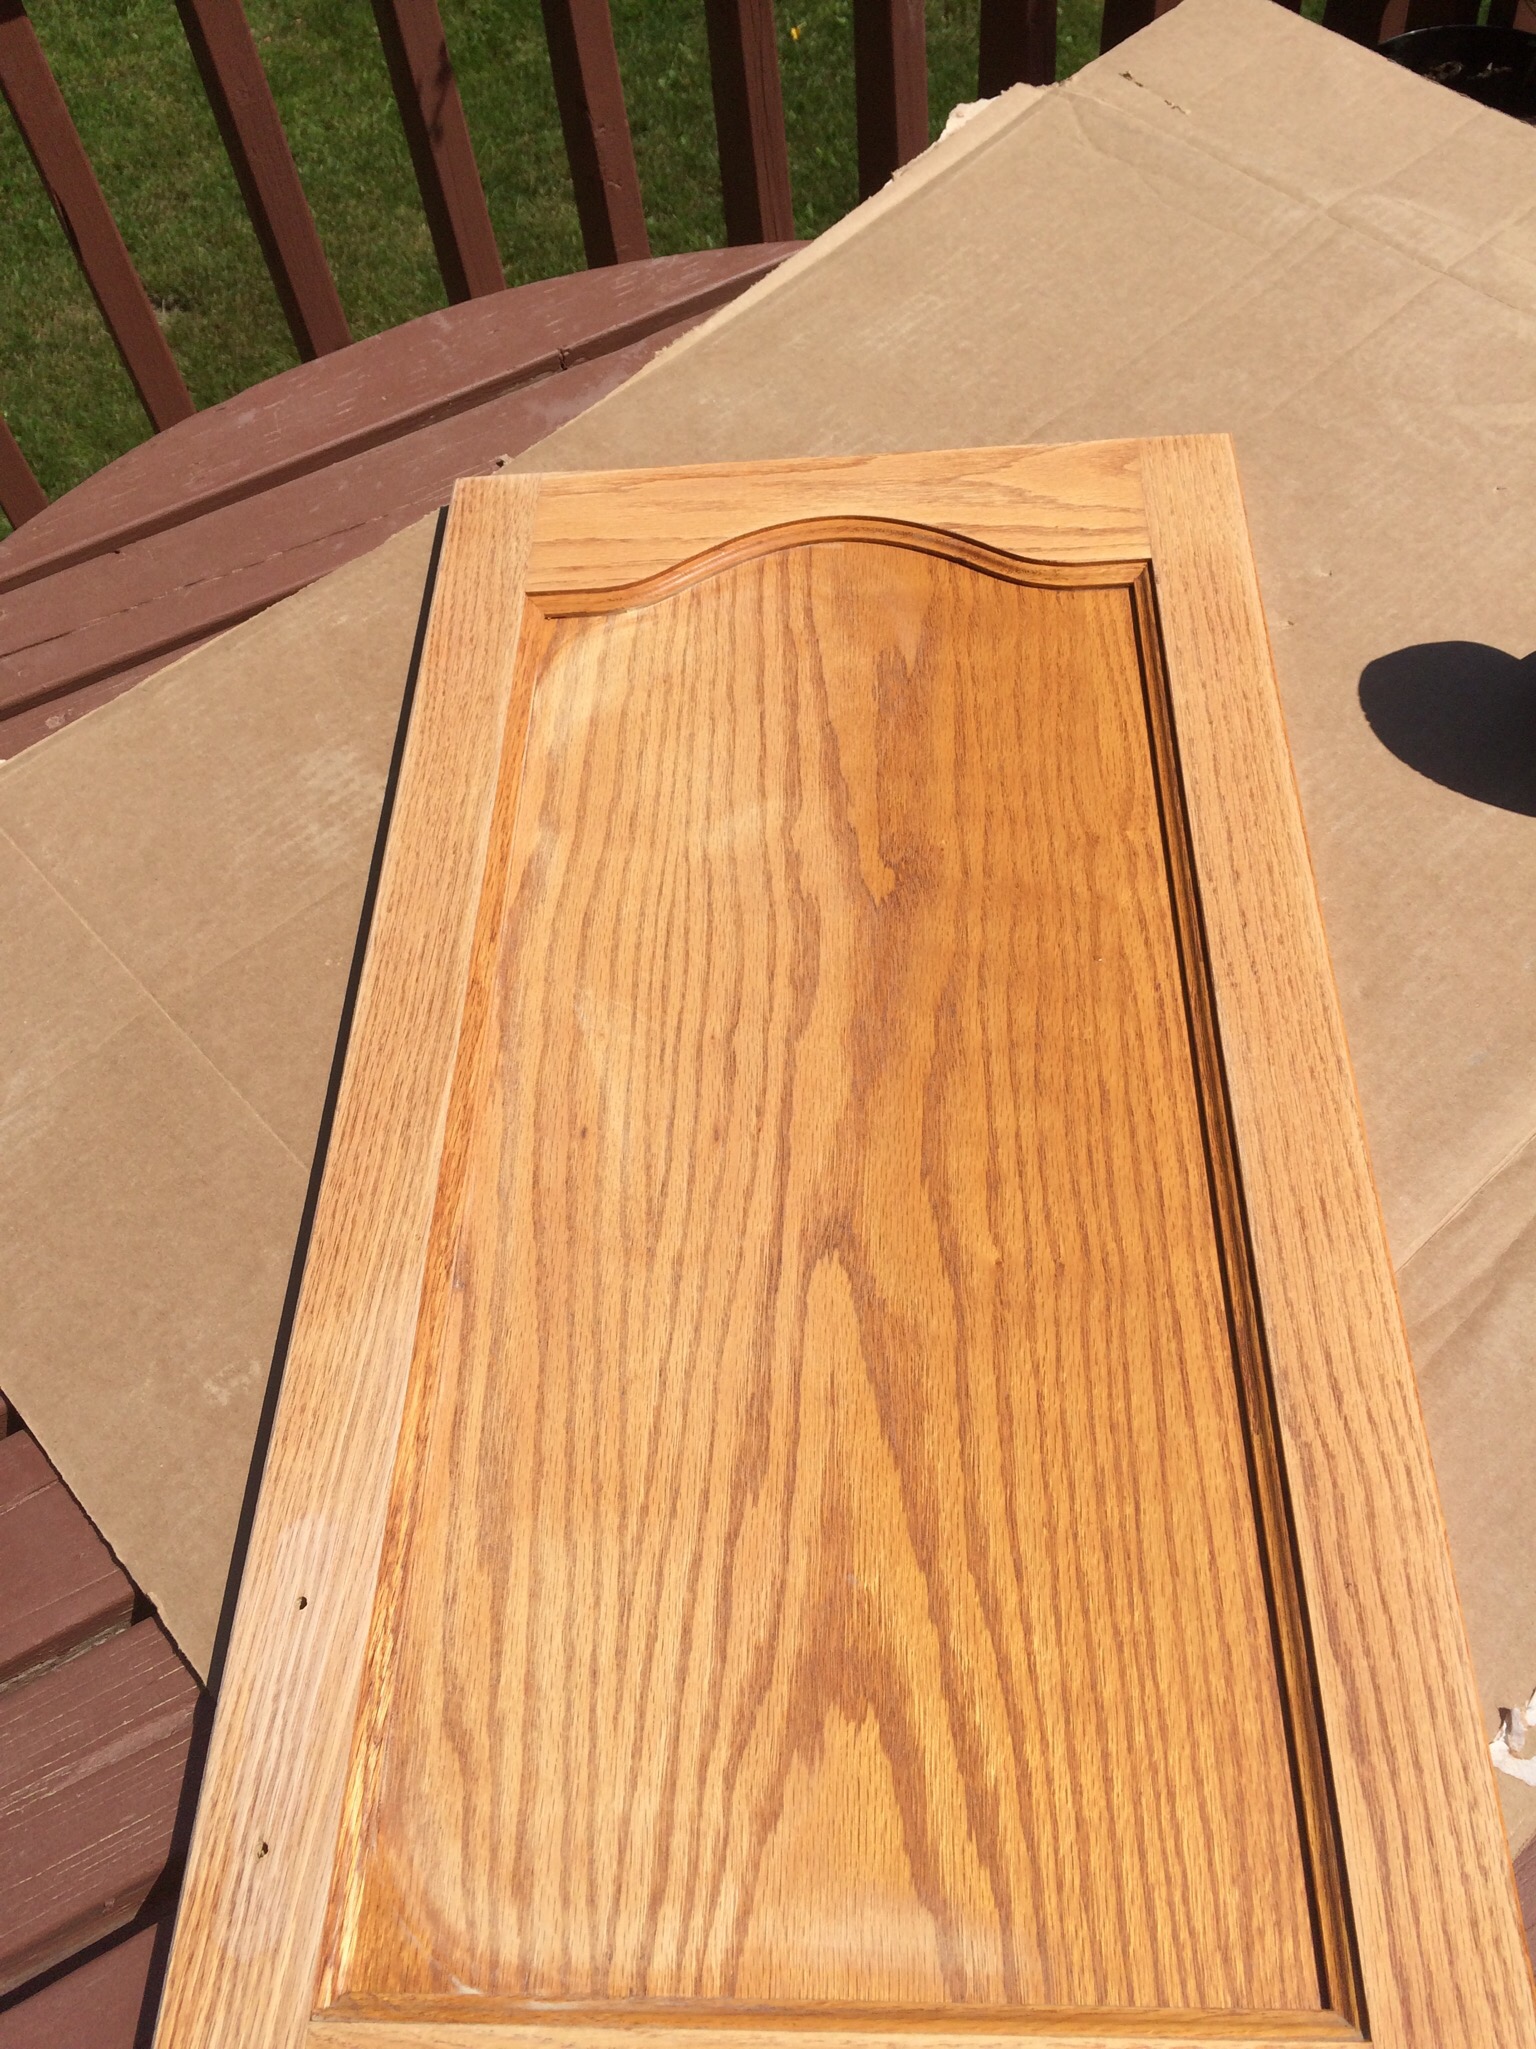
Here the left is not sanded and the right is. Note that the corners are also done. See how much color is left? I did not try to remove the color, only the shine. The reason the rest is so white is because I used the sander. It isn’t even work with the sander.

3. Clean again!
Make sure you get all the dust off. You do not want specks in your paint, and you want the paint to adhere to the wood. It’s a good idea to have those waxy paint cloths on hand (I forget the technical term, if I remember I’ll come back here and edit). Run them over the doors right before you paint. This will help keep the dust down.
Cabinet Prep:
- Decide on the technique
You will need to decide if you are spraying or rolling & brushing.
I decided to spray mine because painting inside cabinets is not something I enjoy.
Quick Note: The Sprayer
While I was satisfied with the outcome of my cabinets, this is not a professional quality sprayer. For something as fine and detailed as furniture refinishing, it fell a little short. I had to be really careful and spray many thin coats of paint for a smooth finish, and the finish still wasn’t as smooth as I wanted it. If I did this over, I would do some research and get a better sprayer.
If you have decided to spray, then there is more prep, but I promise, this will save you time later.
1.1 Demo ugly cabinet tops and replace with crown molding.
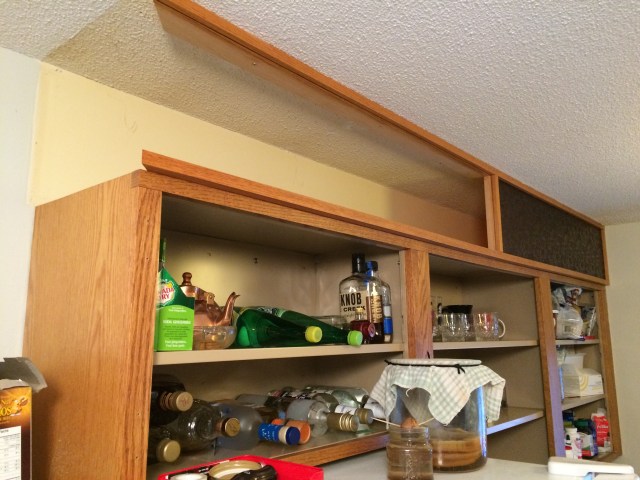
But before that….we ripped out the atrocious 70s top!!! I was very happy to see it go. Here, take another look:
If you have read my previous post, you already know my dilemma with the top. I spent hours trying to figure out how to make it look good. I had almost given up hope when I stumbled across this wonderful blog post that had a perfect and beautiful solution to my problem. Go see what an amazing job this blogger did in her kitchen. Follow the the instructions on her blog if you want yours to look like hers: http://www.remodelandolacasa.com/2012/01/closing-space-above-kitchen-cabinets.html?m=1
I already had a frame on the ceiling to attach my MDF to, so all I needed to do was cut it and attach with screws.
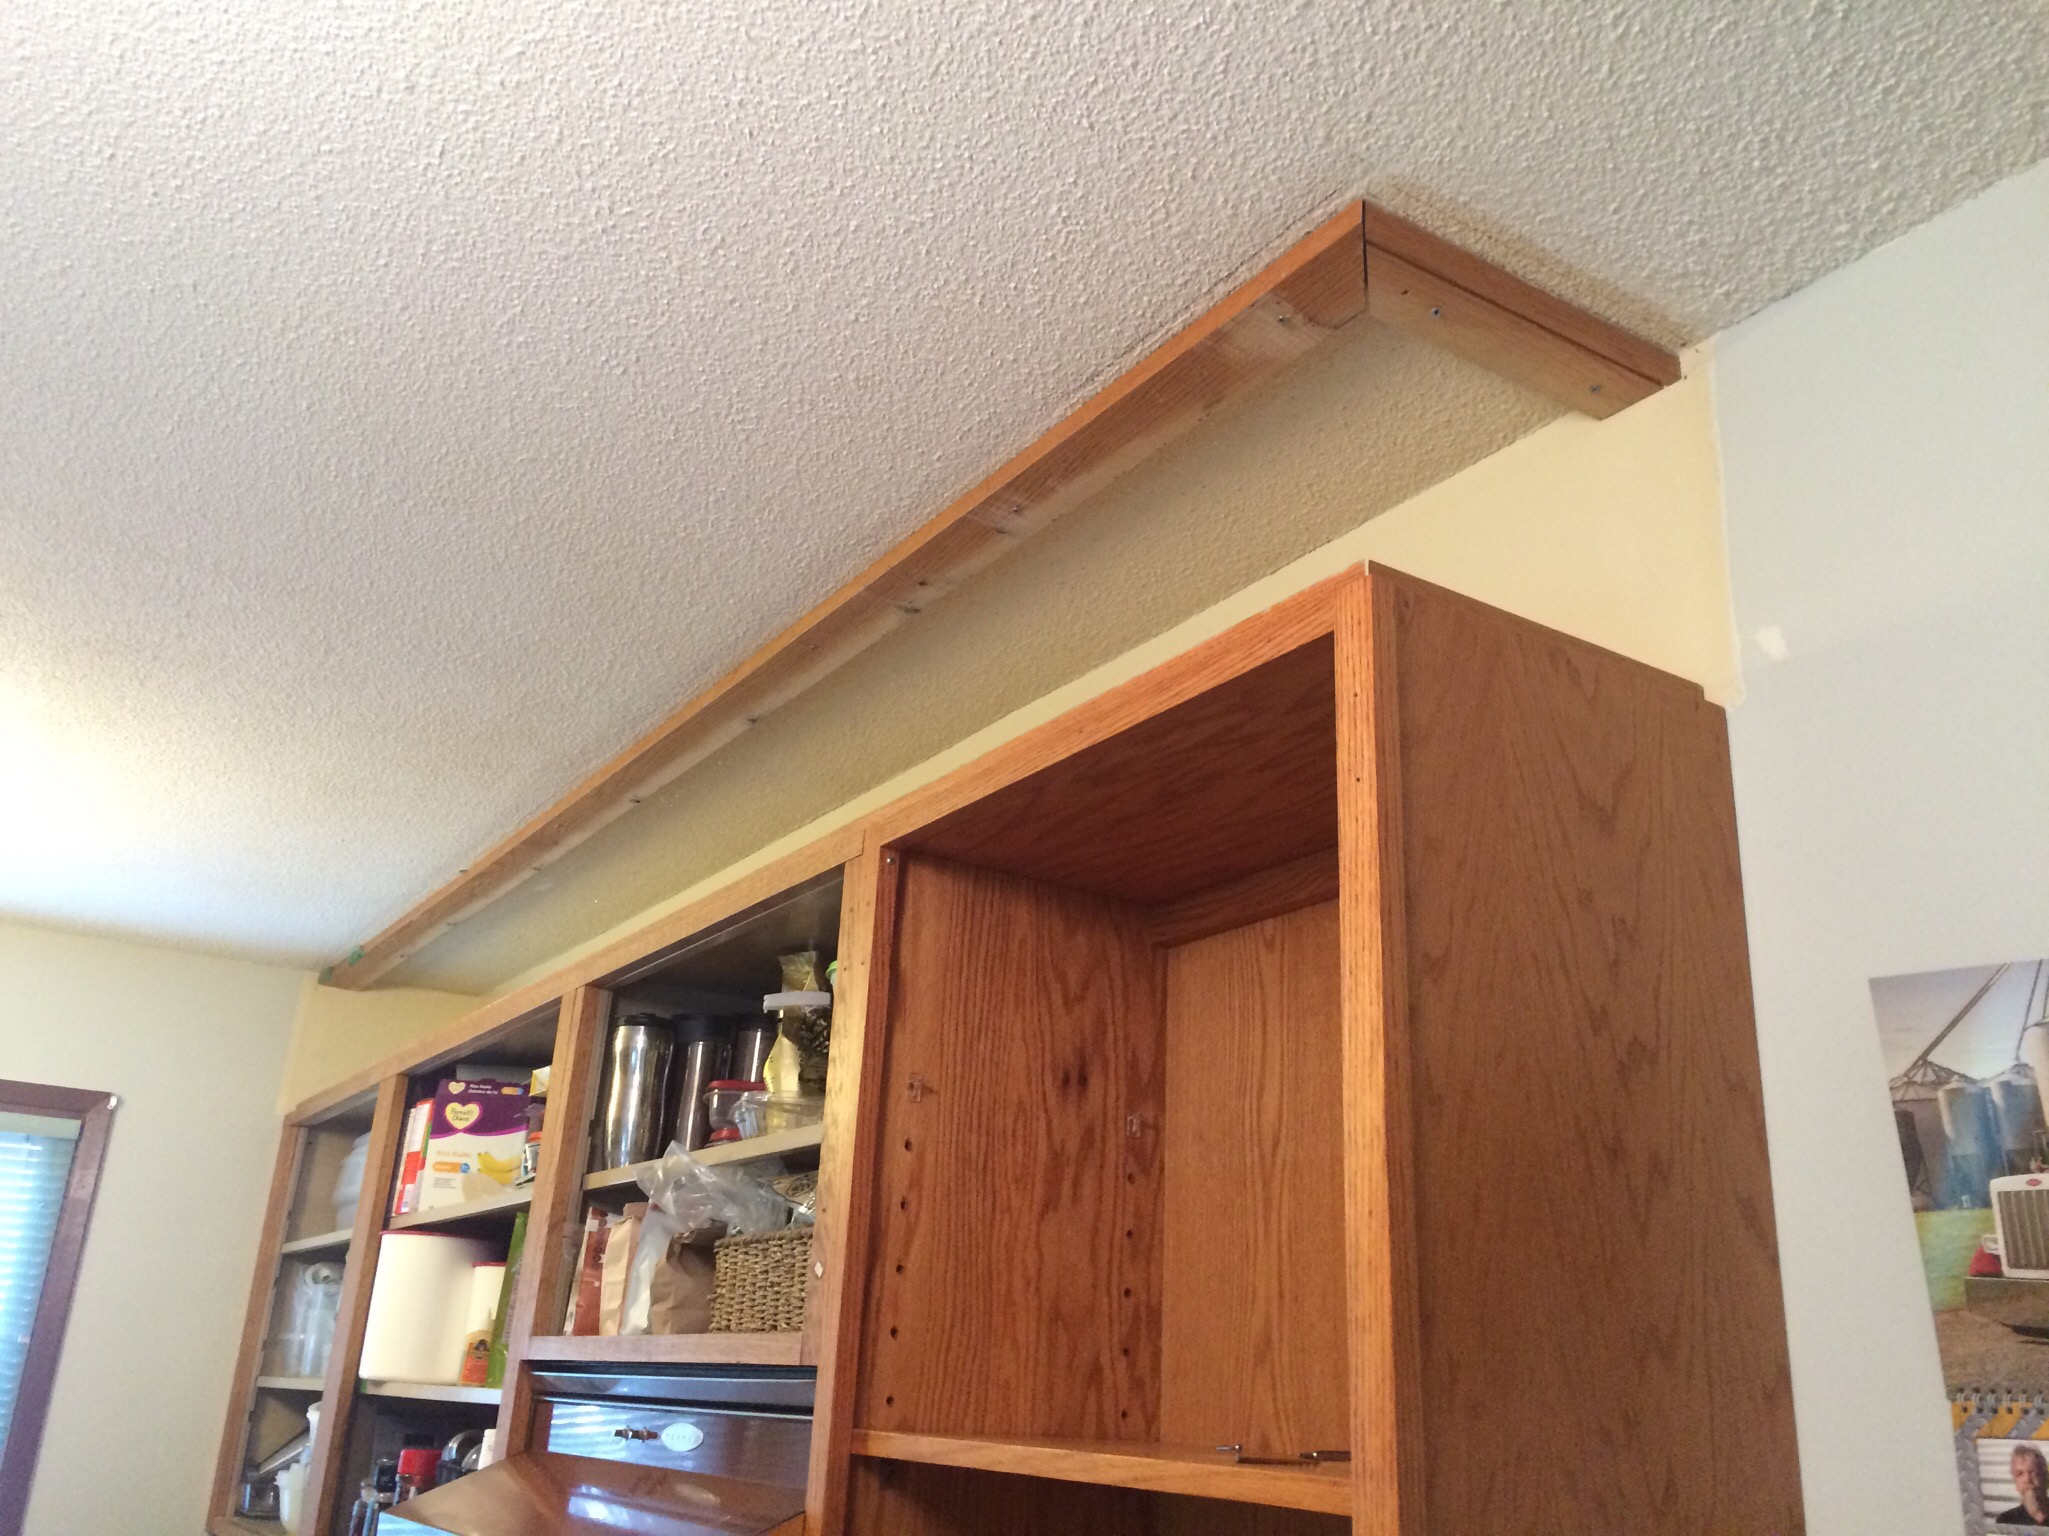

This is where my husband came in very handy. I had a rough time doing this by myself. Advice: have two people to put this up.
Now, back to spraying prep.
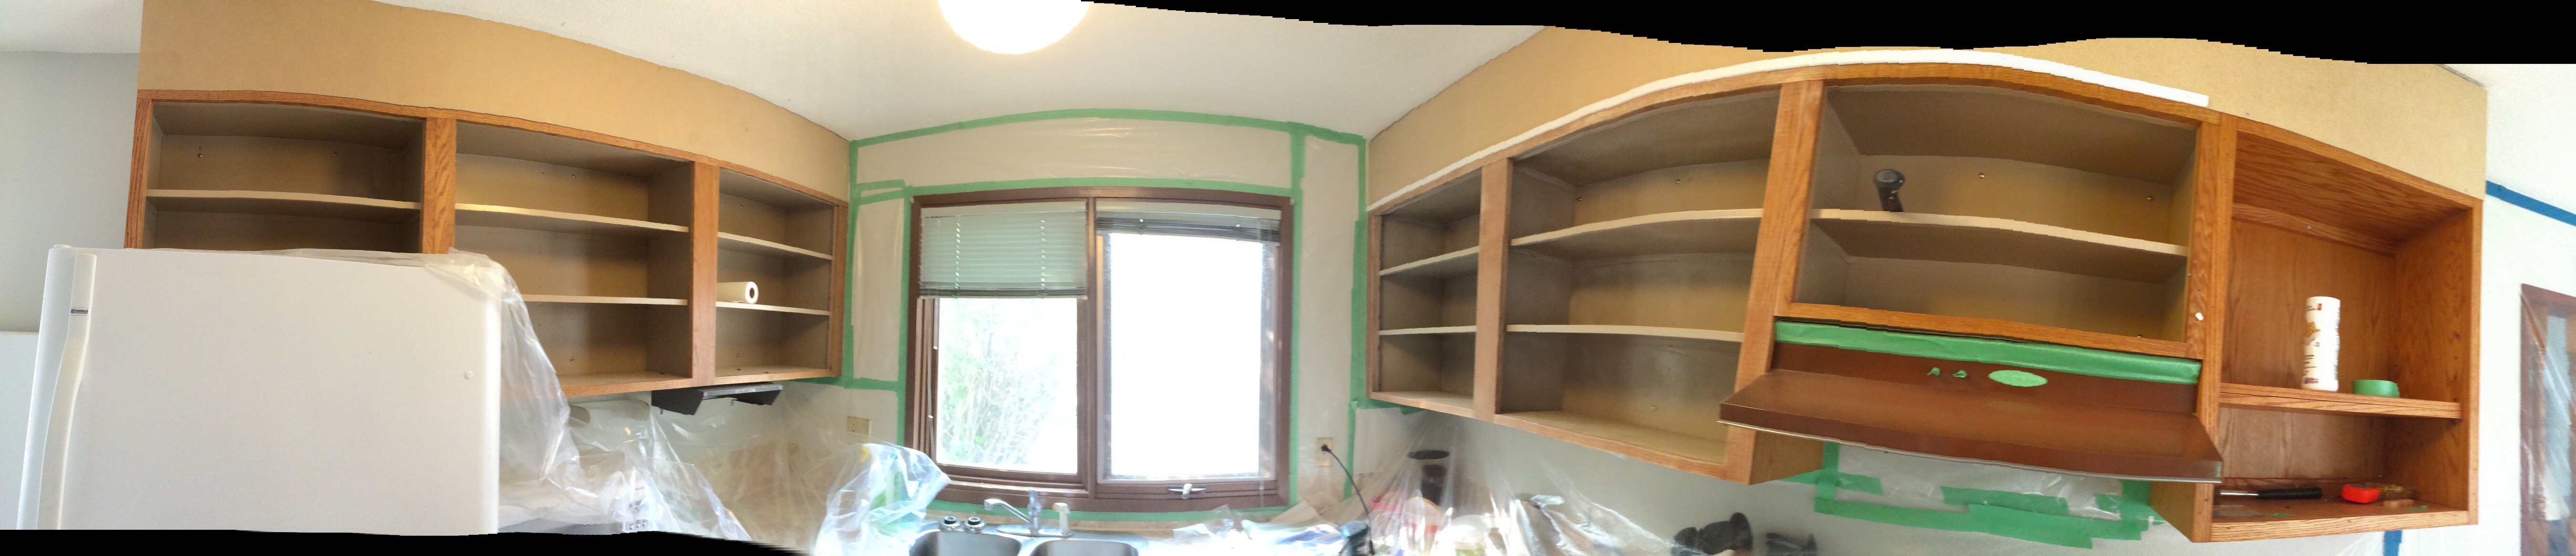
2. Tape off Kitchen
Once we had the MDF and the crown moulding up (it’s not up yet in the picture below, I forgot to take pictures), I emptied out all the cupboards and started taping off the kitchen.
Seriously, do not skimp on the plastic and taping off if you plan to spray. We were going to spray the cabinets because it takes so much time to paint them by hand. However, it does make your prep longer. Trust me, it’s worth it.
3. Sand
Once everything was swathed in plastic, I was ready to sand. I basically took a rotating sander, and just took the sealer off of the wood, and scuffed up the interior of the cabinets. The inside of the cabinets were metal, so I just needed to give the paint something to adhere to. I didn’t go too crazy sanding the wood on the cabinets, just enough so the “sheen” from the sealer was gone.
4. Clean
Once the sanding was done, I wiped everything down very carefully. You want a completely clean surface to paint. The paint will not stick to your surface if there is dust sitting there. Also, everything else was clean. I did not want the sprayer to throw up dust clouds from surfaces I was not painting.
Now comes the fun part. We are ready to paint!

[…] Kitchen Makeover Part 2: Prep Prep Prep […]
LikeLike